Hi there!
The last few days have been really busy for us. Which is great as it means we’ve been productive, but not so good when it comes to blogging. Apologies for the long post… Here it goes..
On Friday we took ourselves down to Devon to learn more about lime, and the different ways of working with it. We were on a fantastic course run by Mike Wye, lime expert. We decided to book ourselves on to this to understand more about the chemistry of lime and the various different mixes you need for each technique. It was a very hands on course, which suited us both down to the ground.


We had a short introduction to the history and chemistry of lime first thing, along with learning more about the different types of lime ( putty and natural hydraulic) and how to select the correct sands for your job. After this, it was all practical work. We built our own stone wall in both a lime putty mortar and a NHL, and learnt about the different strengths, talking about problem solving as we went along to determine when to use which strength.


We then raked and pointed stonework (very handy for us!) using different techniques, and again discussing different mortars and their strengths. It’s extremely important to be aware of many different factors when working with lime, the main ones being what material you are working with ( usually brick or stone) where you are working ( is the job internal or external? Is it in constant sunlight? or does it get hit by rain? And what time of year you are working. Only then can you tailor your mixes to suit the job. This goes for mortar, plaster or render.


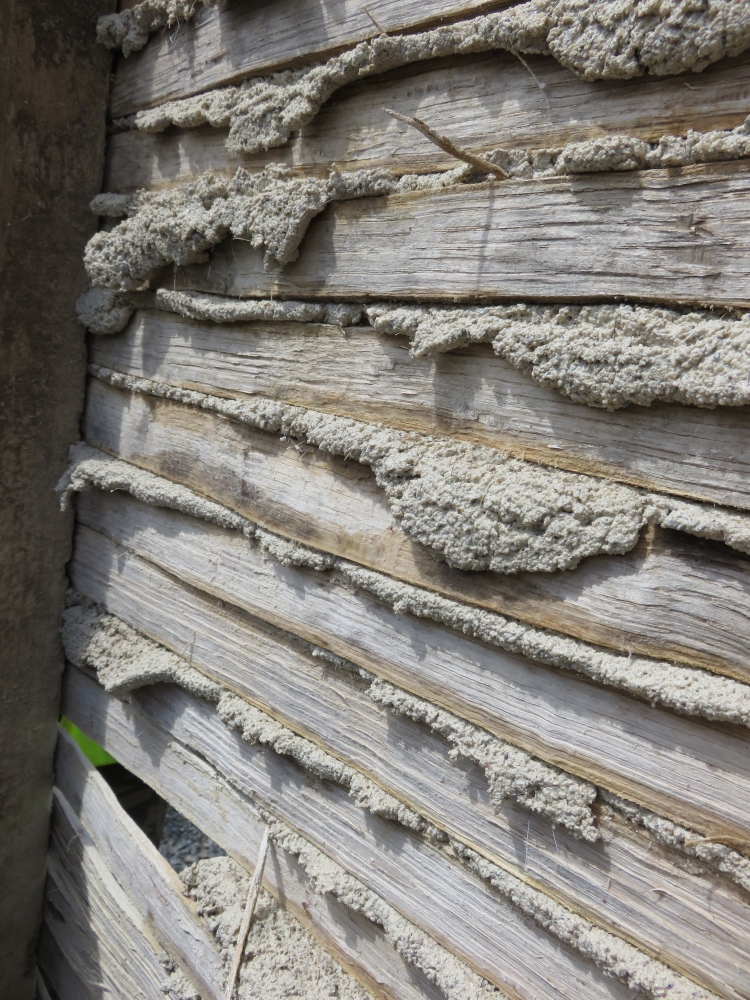
When it came to plastering and rendering we used lime putty mortars and earth plasters. We plastered onto solid walls and lath, and for the solid walls we learnt a technique called hand harling. This is the first layer you need to add to the existing wall before starting your trowel coats. Water is added to the mortar mix to create a constancy similar to runny porridge, and then using a curved harling trowel, you literally splatter it on the wall in a quick sweeping movement from the elbow ( there is more of an art to this than I’m letting on!) The result is hopefully that it sticks, and this then gives you a strong key for the next layer (scratch coat with added hair) to stick to. There are usually 4-5 coats needed: The first being the harling coat, then the scratch coat ( you may need one two of these depending on whether the wall is straight/level ), and the two finishing/float coats. We then moved on to work with a material called ecoCork. This material is a great insulating lime plaster/render, but when knocked up has a fluffier texture to it than the lime putty mortars, and so is a little different to work with.


We also learnt about selecting material for building with cob, and made our own cob blocks. We then laid some blocks that had been given time to dry out in a wall with lime mortar.

The final part to the day was going back to our pointed work to finish it, and learning a little on lime finishes and washes. It was a fantastic, intense course, but well worth it. We even got certificates! The company run many other courses too, I’ll add a link to their website to the bottom of this post.

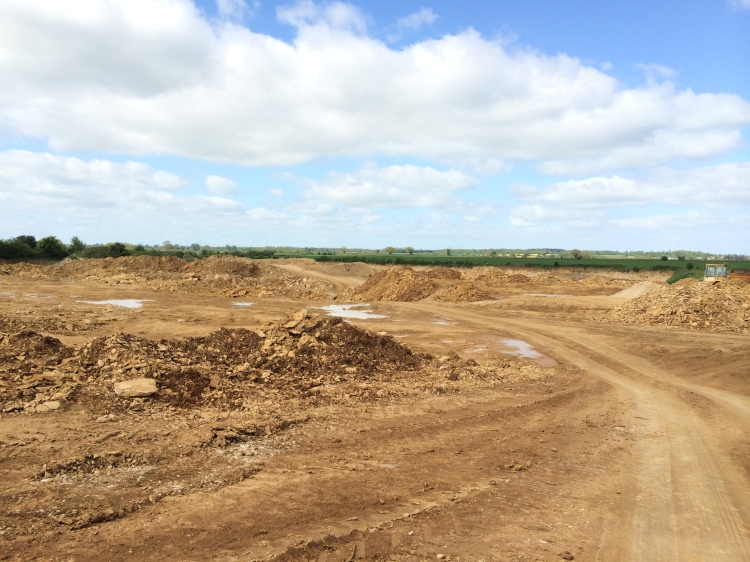
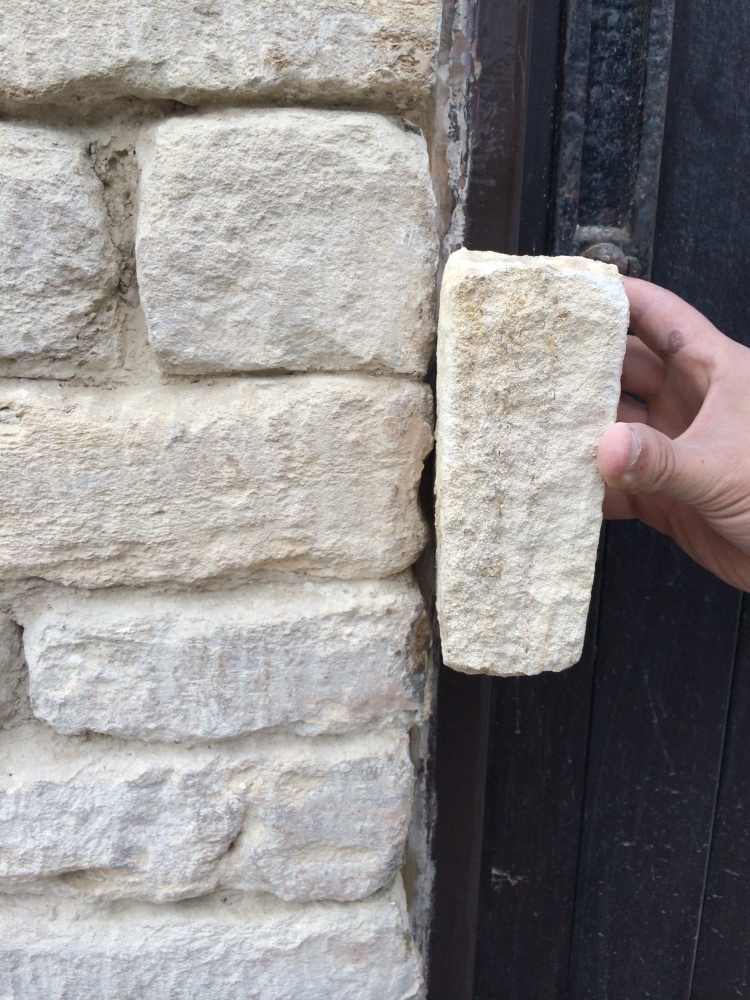
Saturday we were eager to test some of the lime mortar and pozzolan ( an agent to speed up carbonisation) against our stone, but we held off as we knew we needed to sort a few other bits out first thing. We visited Knockdown Quarry not far from us first thing to find out more about their cotswold stone and if it would match ours. We bought back a couple of stones, and luckily, it’s a pretty good match! So we’ll be putting an order in for that early this week.


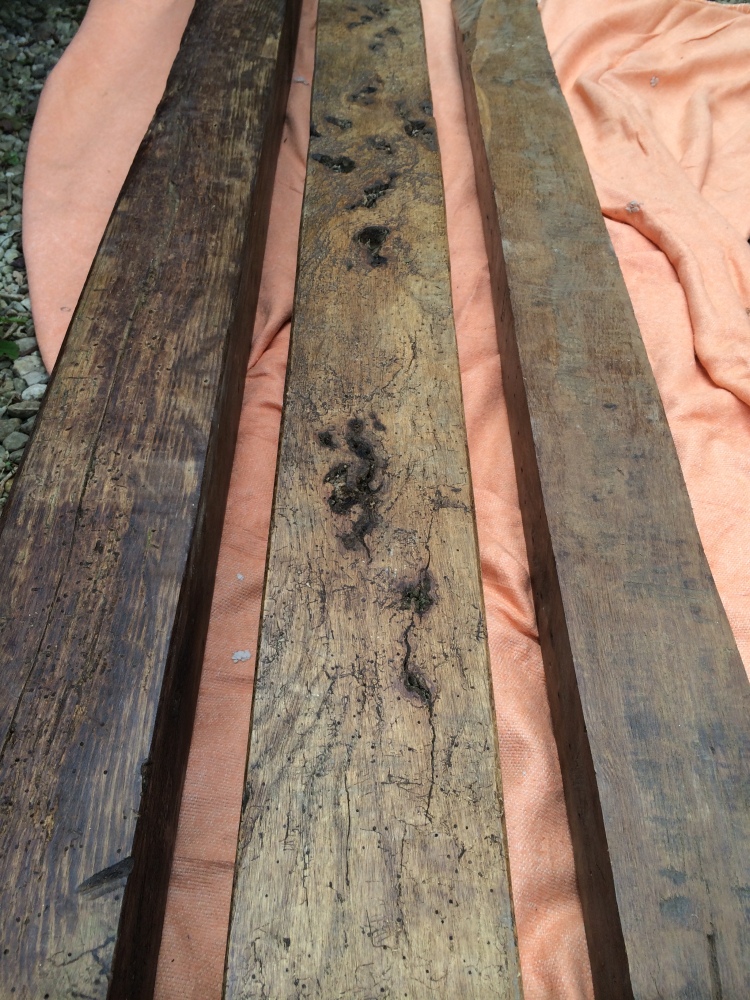
Following that we took a trip to Winchcombe reclamation yard, where we picked up some beautiful reclaimed oak lintels to replace our crumbling existing ones. It’s a shame that the originals are not in a better condition, but they are around 200 years old. The ones we found look great, and we literally can’t wait to be at the stage where we’ve re-built up to this level so that we can swap them out.
You may notice we only picked up three, but will need four on the front of our cottage. The fourth lintel is a bit of a sentimental one.. We’re going to use an original from our previous cottage project ‘Jesolo’, a little victorian Kent cottage. After putting so much love and hard work into Jesolo, we love the idea that we can add a little piece of it into this cottage, and that it’ll be pride of place on the front elevation. The lintel still needs a lot of work, so we haven’t got a picture of it at the moment, but we’ll upload a few when we begin the work.
Over the rest of Saturday and Sunday we have been cracking on removing more cement from the stone faces. We have a section complete in between the old door and lounge window, so we decided to point up a couple of the joints to check the mortar colour. Lime is great as it lasts in it’s putty state indefinitely, it doesn’t go off like cement. When the pozzolan is added, it’s still workable for a whole day, so there’s no rush. Lime dries much lighter than it looks when it’s first knocked up. Here’s our mix when wet:
And once it has almost dried:
You can still see a couple of darker patches where it hasn’t fully dried out. It will take a couple of weeks for the lime to carbonate and dry out properly. This is when it will be at it’s full strength. Until then, we need to keep an eye on it and make sure weather conditions don’t affect it too much. If it is getting tot much rain or sunlight, we’ll cover it with hessian to protect it.
You can finish the pointing in a few different ways, but we like an almost flush, rough finish. You produce this by brushing the lime when still slightly damp, and then tapping it to bring the aggregate to the surface. This is defiantly a traditional looking finish. It ends up looking something like this:

So that’s where we are at the moment. We are really happy with how the lime has dried out, and so have ordered 2 tons of this to keep us going, and 10 tons of stone from Knockdown. That’ll keep us busy then!
Here’s the link to Mike Wye’s website : http://www.mikewye.co.uk


Hi Emma really enjoyed reading about your course we think we have lime mortar in between our bricks which need repointing Dave said do you think that this is possible the house was built in 1882 or is it just weak cement. Love Maria x
LikeLike
Hi Maria, glad you enjoyed it.
It could be either ( or both if someone has re pointed it in cement over lime) normally cement is more grey in colour, is very hard and comes off in lumps/chunks. Lime is usually paler and will just crumble when you touch it. There is a close up picture of some cement mortar in our post on the old door that we found, if you wanted to compare it to that. Love to you both xxx
LikeLike
Brilliant post Emma. It all sounds so interesting & definitely a project. The stone matches well as well as the dried lime so should look fab when done! 😀
LikeLike